How to Check BIOS Version in Windows 11 (3 Quick Ways)
Do you know which BIOS version your Windows 11 computer or laptop has? If not, don’t worry. Finding the current BIOS version in Windows 11 is very simple, whether you use ASUS, LENOVO, MSI, DELL, HP, or any other brand PC or laptop.
In this article, I have shared 3 easy methods that will teach you how to check the BIOS version in your Windows 11 system.

What is BIOS Version and Date in Laptop/PC?
BIOS stands for “Basic Input/Output System” and it is a type of firmware that helps in initializing the hardware of a PC/laptop and loading the operating system (OS).
BIOS Version – This is the update number of the BIOS software (e.g., “F.12”, “1.8”).
BIOS Date – The BIOS version date indicates the date of the last firmware update for the BIOS (e.g., “05/12/2023”).
3 Quick Ways to Check BIOS Version in Windows 11
Users often check the BIOS version when their PC suddenly starts malfunctioning or when they plan to upgrade hardware like the CPU, RAM, or SSD. If you are troubleshooting system issues, want to fix compatibility problems, or are preparing for a BIOS update, you need to know which BIOS version is installed on your system.
#1. Using CMD (Command Prompt)
Windows 11 has a command-line interpreter called CMD that executes user commands. By entering a specific command line in CMD, you can easily find out the current BIOS version. Follow the steps mentioned below to do this.
To find out current bios version on Windows 11 using CMD:
- Press Windows + S and Search “CMD” and Open It As Run as Administrator.
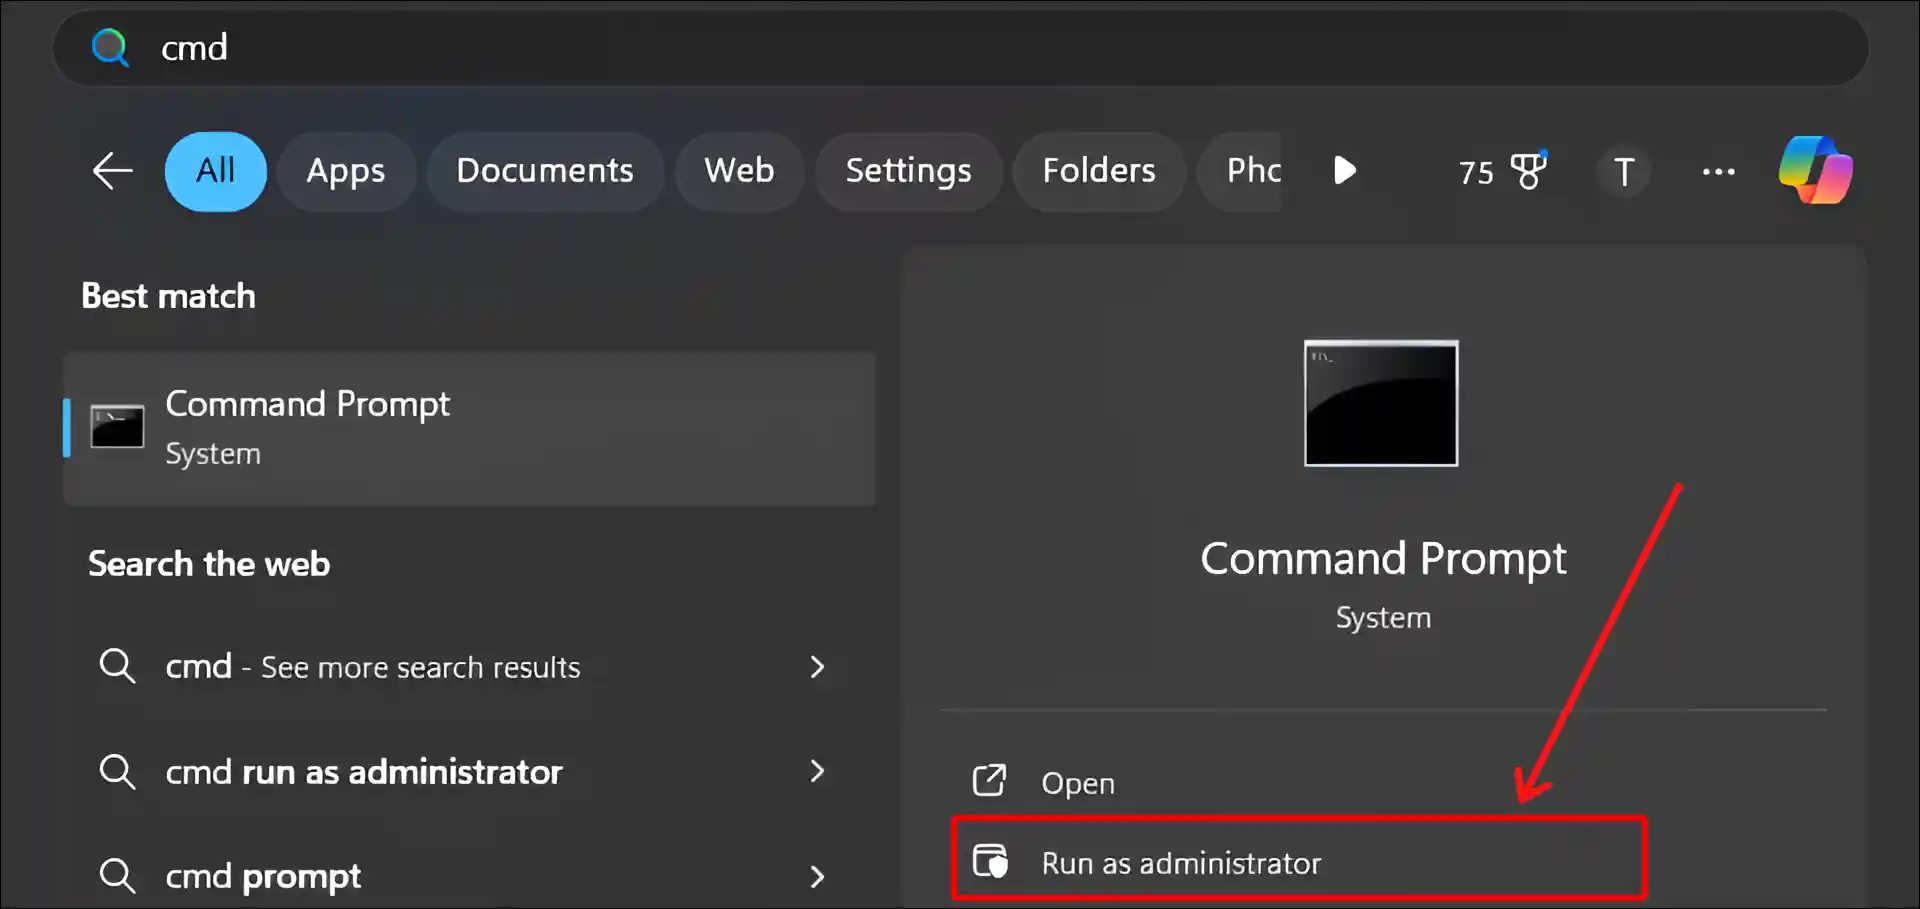
- A User Account Control Popup will Appear, Click on Yes.
- Type
wmic bios get smbiosbiosversionCommand and Press Enter.
- Here’s You Can See Your BIOS Version.

Also read: How to Check What Motherboard I Have
#2. Using PowerShell
In Windows 11, PowerShell is a powerful default command-line tool and scripting language capable of managing the system, automating tasks, and performing administrative functions. This PowerShell can also help to find the Windows BIOS version.
To know current bios version on Windows 11 using PowerShell:
- Press Windows Key and Search “powershell”, and Click on Run as Administrator.
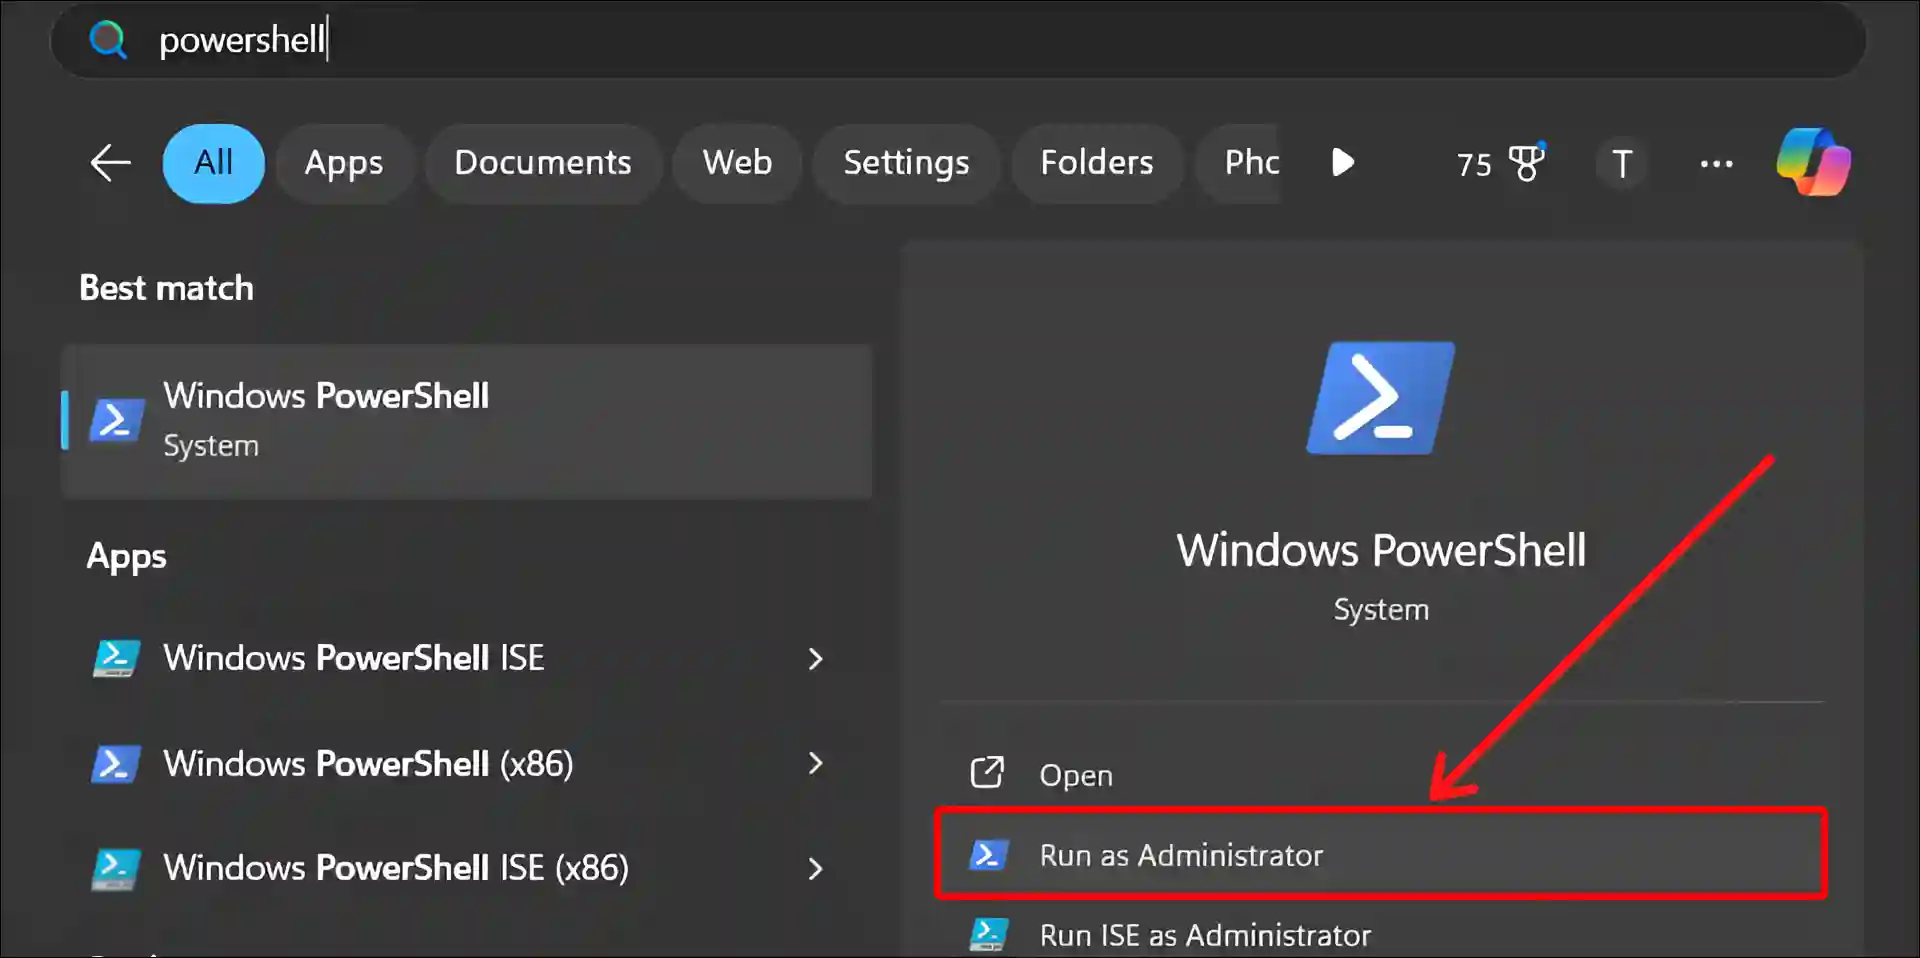
- A User Account Control Popup will Appear, Click on Yes.
- Type
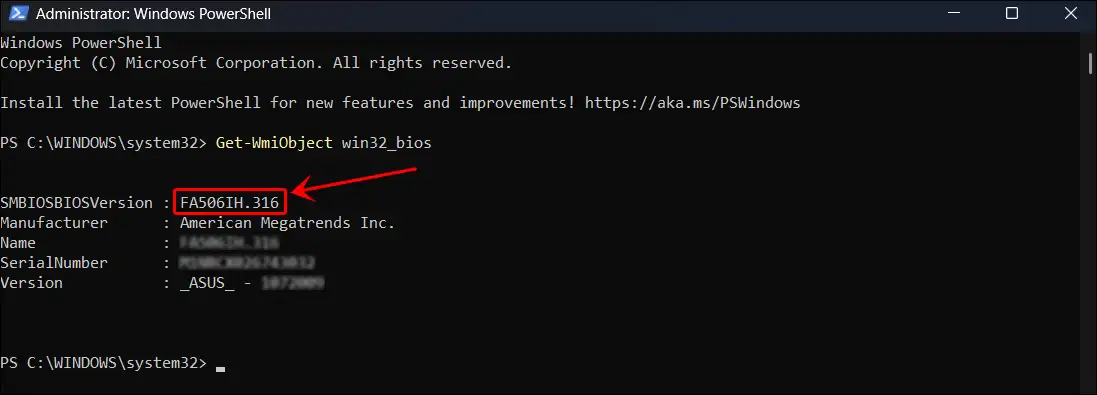
Get-WmiObject win32_biosCommand and Press Enter.
- Now, You Can See Your BIOS Version As Well As SerialNumber, Manufacturer and More.
Also read: 2 Ways to Turn Off FPS Counter in Windows 11
#3. Using Windows System Information
The System Information feature of Windows 10 or Windows 11 can help you find out which BIOS version your PC or laptop has. This is one of the easiest ways to view your system’s BIOS information.
To get bios version date on Windows 11 using MSInfo32:
- Press Windows + R Key to Open ‘Run’ Dialog Box.
- Type
msinfo32in the Box and Hit OK.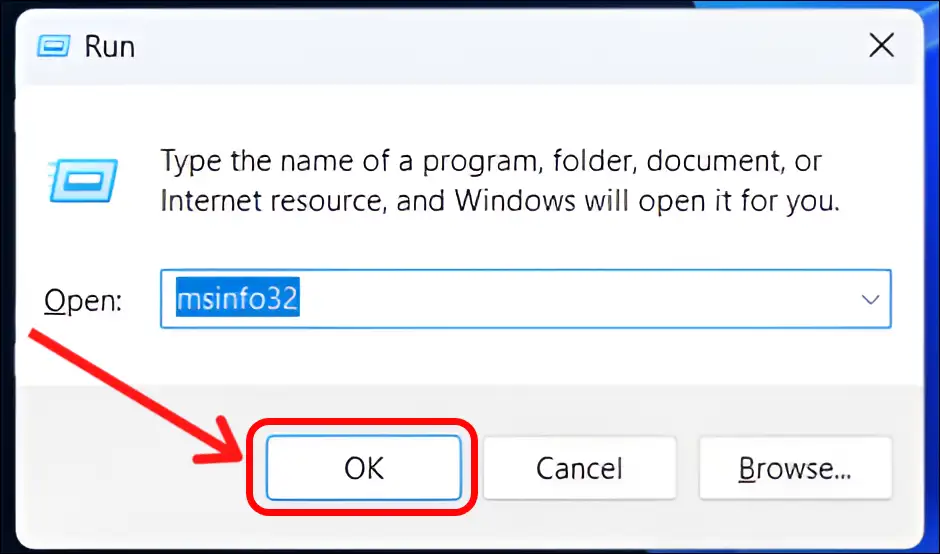
- Under the System Summary Tab, You Can See BIOS Version/Date Section.
This will tell you the manufacturer, version number, and the release date of your current BIOS.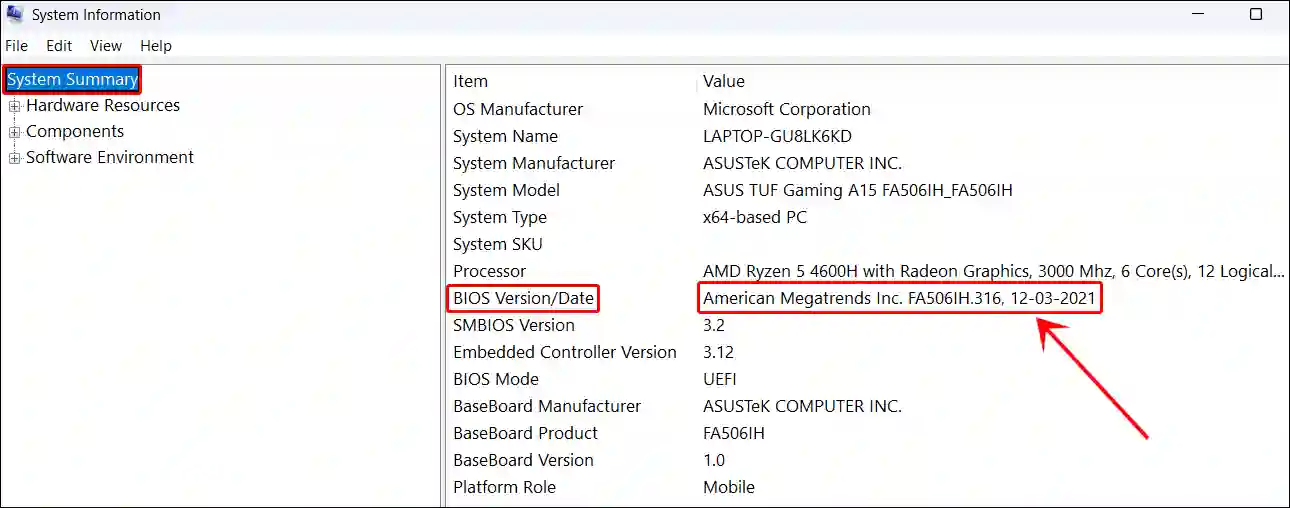
That’s all! You’re done…
Also read: Enable & Disable Hardware Accelerated GPU Scheduling in Windows 11
I hope you found this article quite helpful and learned how to check the BIOS version in Windows 11. If you have any problem or question related to Windows, feel free to ask by commenting below. Do share this article.