2 Ways to Check Internet Speed on Windows 11
If you have Windows 11 installed on your PC or laptop and you want to test internet speed, then this article will definitely help you. Users browse the internet by connecting Wi-Fi to their computers. But many users do not know what the speed of the internet is connected to on their laptop or computer.
Although you get many best internet speed test apps for Windows 11, But in this article, I have shared some unique methods with you, by following which you will be able to test Wi-Fi internet speed for free on your Windows 11 PC or laptop.
Also read: How to Enable Mobile Hotspot on Windows 11
2 Ways to Check Internet Speed on Windows 11
Sometimes users are unable to do many tasks due to slow internet. In such a situation, they have to check their internet speed on their Windows PC. So below, I have given 2 easy methods to check the net speed of a laptop.
1. Check Internet Speed with Task Manager on Windows 11
You get a feature called Task Manager on Microsoft’s Windows laptop or computer. Today, you will be able to test internet speed easily by using this task manager. So read and follow the steps given below.
Step 1. Turn on Your Laptop or PC and Connect Internet with Wi-Fi or Ethernet.
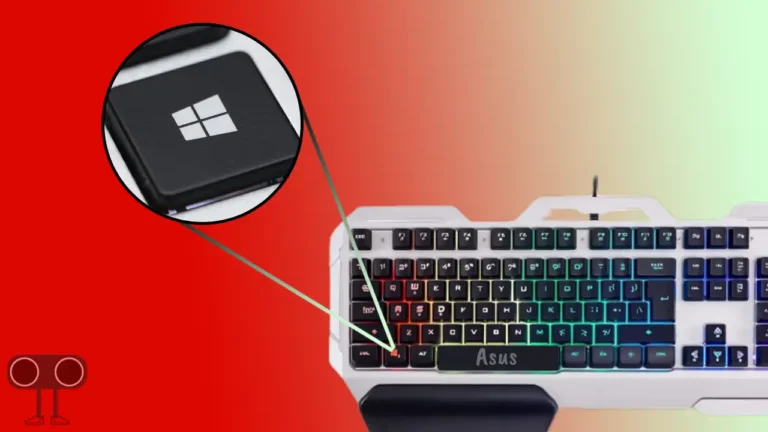
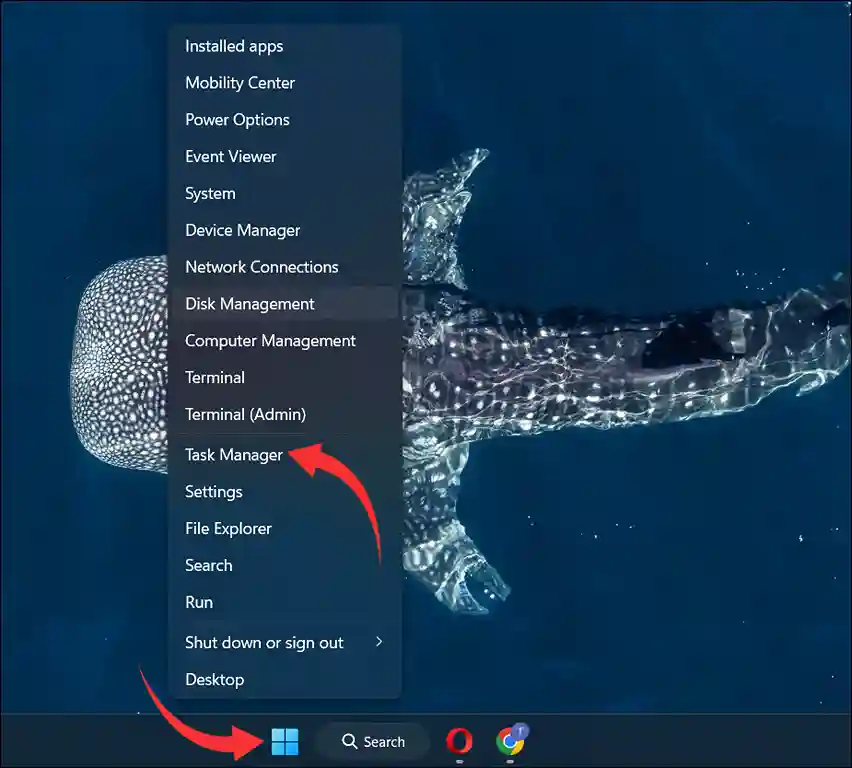
Step 2. Right Click on Windows Icon and Select Task Manager from the Menu List.
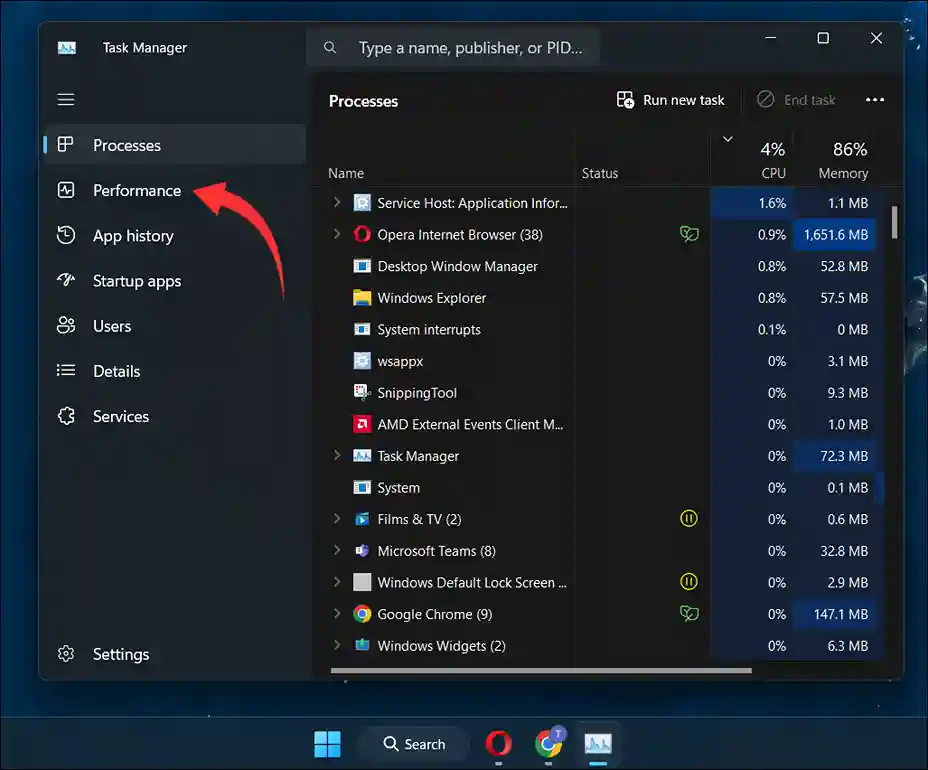
Step 3. Now Task Manager Opens with a Pop-up Windows. Tap on Performance Option.
Step 4. Tap on Wi-Fi Option from Performance List.
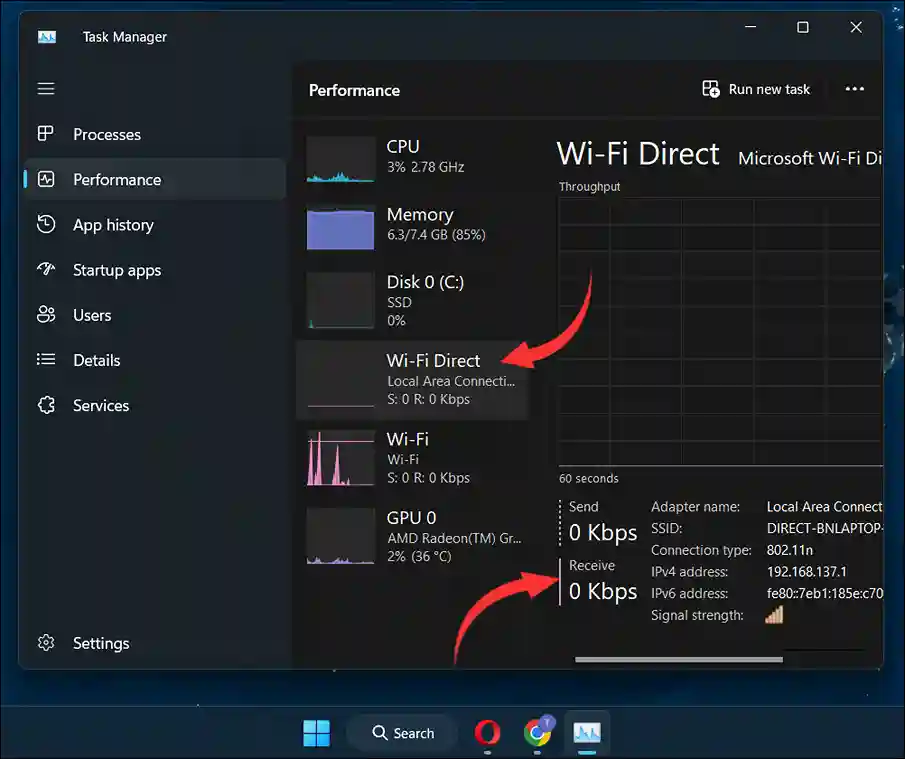
All done. Now you can see your connected internet speed test result with Send and Receive parameters.
Also read: 2 Ways to Show File Extensions in Windows 11
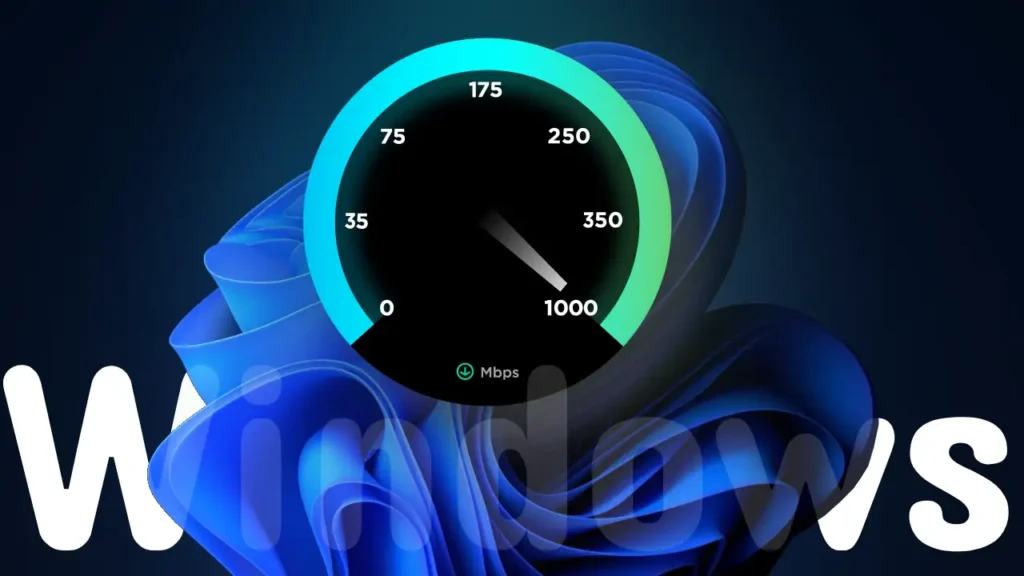
2. See Real-time Network Speed in Windows 11 using Browsers
This second method is often used by everyone. You can check real-time internet speed with latency, ping, location, IP address and graph using any browser on your Windows computer. For this, follow the steps given below carefully.
Step 1. Open Any Browser on Your Windows PC.
Step 2. Now Search ‘Internet Speed Test by Ookla’ on Google.
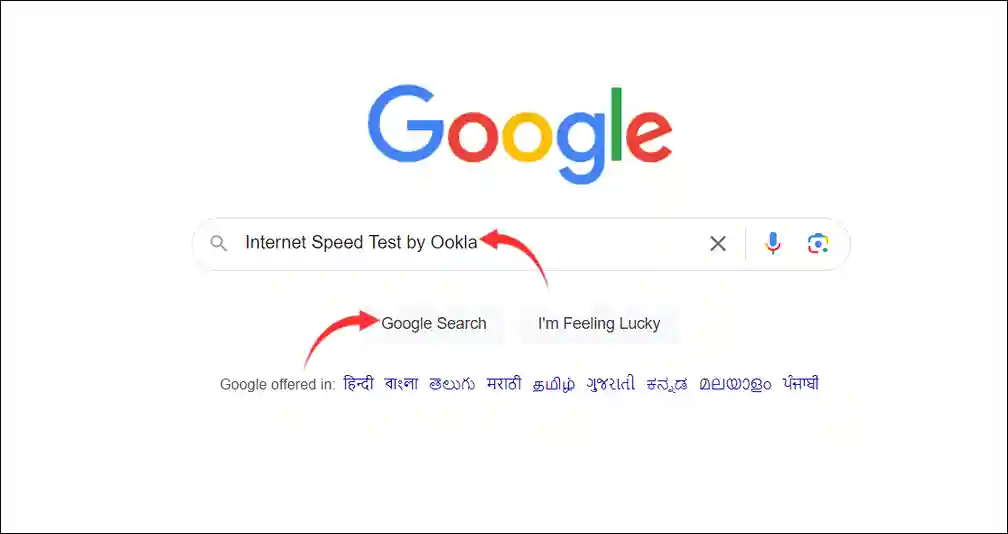
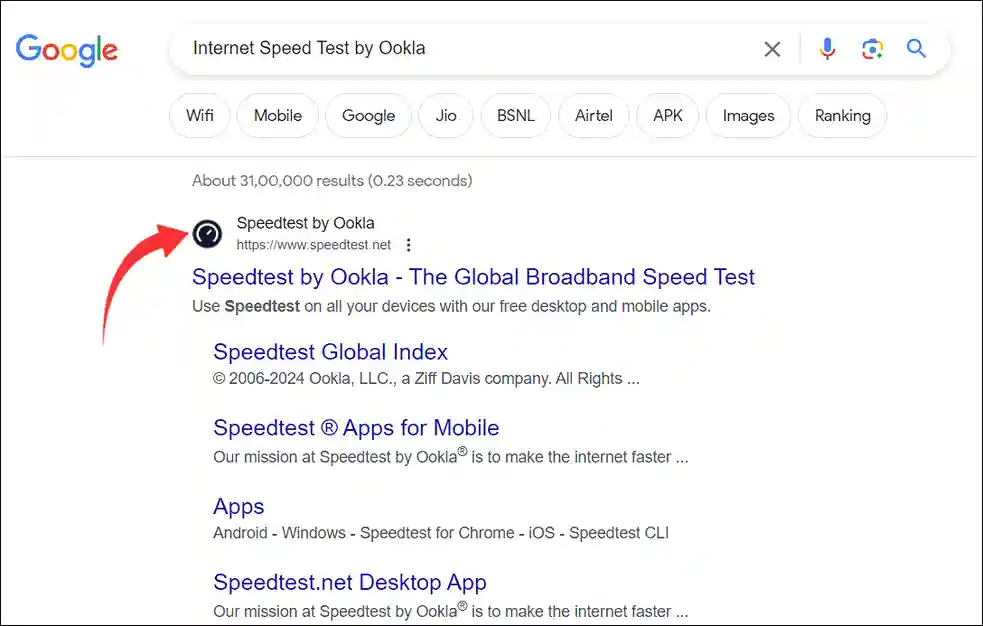
Step 3. Open First Website of Speedtest.net on On Browser.
Step 4. Tap on Go Button on Screen. (Make Sure You’re Connected with Internet)
Step 5. Now It will Scan Your Real-Time Download and Upload Speed.
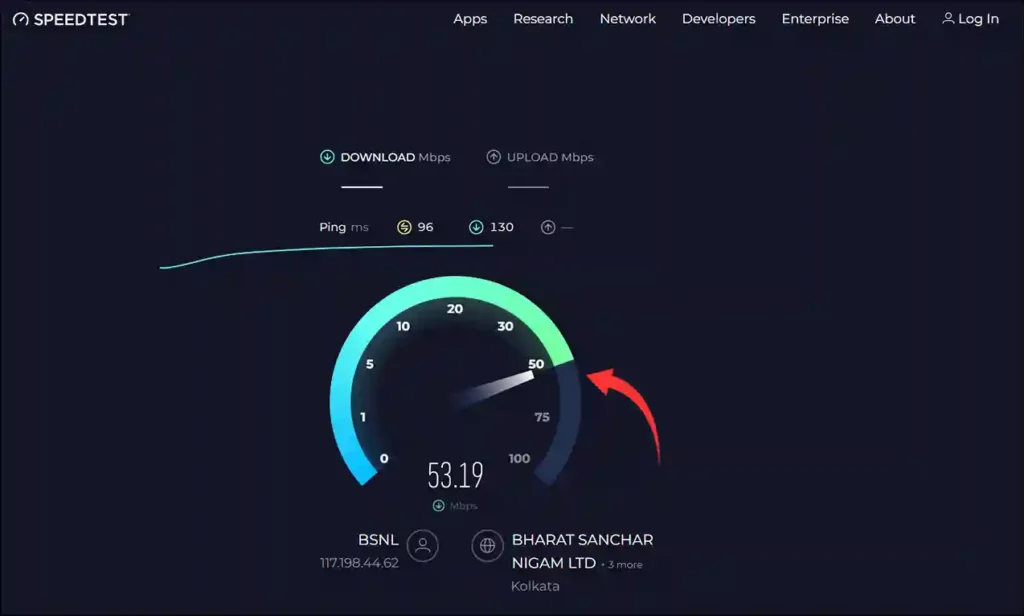
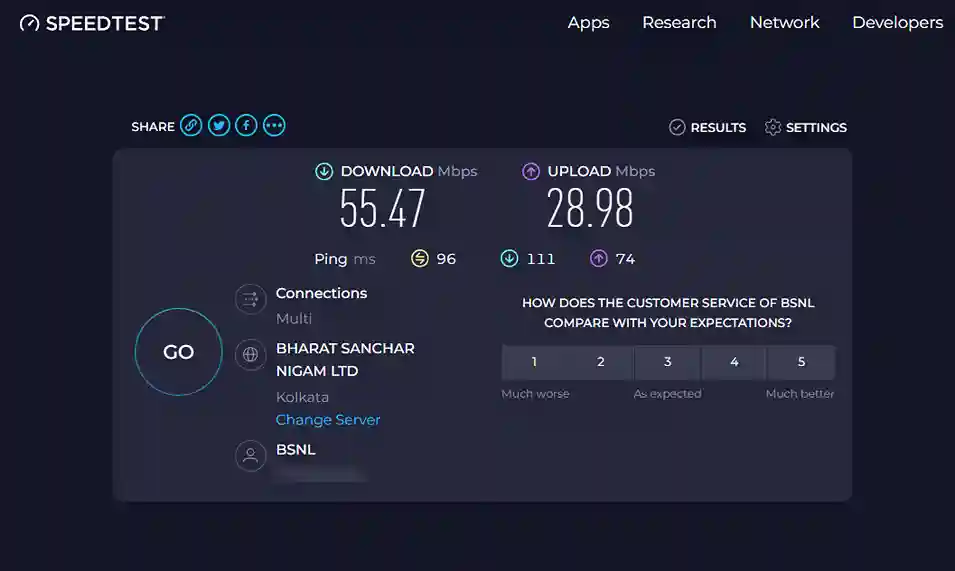
Step 6. Now You Can See the Result of Your Speed Test on Screen with DOWNLOAD Mbps and UPLOAD Mbps Record.
That’s all. You are done!
Also read: 2 Ways to Keep Wi-Fi Enabled in Flight Mode on Windows 11
I hope that with the help of this article, you have learned how to check internet speed on Windows 11. If you like the post, then do share it with your friends.