How to Clear DNS Cache on Android Device
If you are also associated with networking, then you must have heard about DNS caches. While browsing, sometimes users face 404 webpages not found or website loading problems. For these problems, first of all, we pay attention to the DNS cache. When you do not clear the DNS cache, you may also face problems related to browsing.
That means you will be able to access the website again by flushing the DNS cache on Android. However, clearing the DNS cache is not recommended for all users. But sometimes, to follow some technical guides, users have to clear the DNS cache of their device.

Do you know a DNS cache is a temporary storage that stores your recent searches in your Android OS (operating system)? And when you want to visit an IP, your OS serves you only the old DNS cache. Which sometimes shows errors on many websites while browsing. Below, I have explained how to clear DNS cache on Android devices.
2 Ways to Clear DNS Cache on Android Devices
Method 1. Clear DNS Cache using Chrome Browser on Android
Do you know that Chrome on Android is not just a default browser but also a tool to handle many background functionalities? If you mostly use the Google Chrome browser on Android phones, then you can easily flush the DNS cache with the help of the secret URL of the Chrome browser.
1. Open Chrome Browser on Your Android Phone.
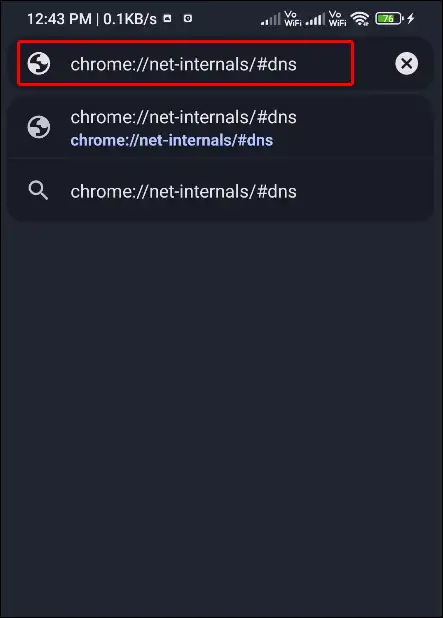
2. Now Visit chrome://net-internals/#dns Path and Click on Enter.
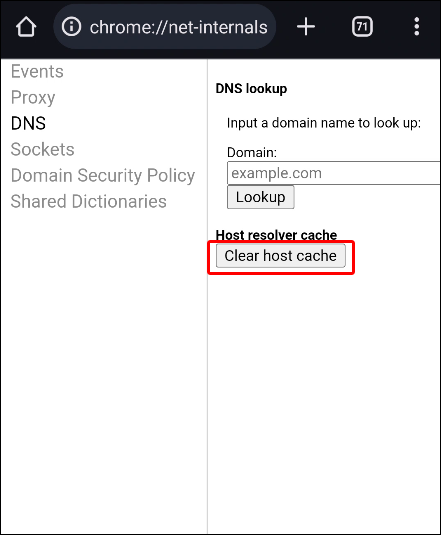
3. Now Click on “Clear Host Cache” to clear the DNS cache on your Android phone.
Woohooo… Now the DNS cache has been cleared on your Android phone.
Also read: How to Enable JavaScript on Chrome Browser
Note: If you’re using different browsers on your Android, you can use the following hidden urls for different browsers to flush the DNS cache.
On Microsoft Edge Visit: edge://net-internals/#dns
On Brave Visit: brave://net-internals/#dns
Method 2. Clear DNS Cache on Android through Chrome’s App Info Page
Sometimes the above method does not work for many users. People think that the above method flushes only the image and file caches. In such a situation, you will be able to clear the cache by following the steps given below with the help of Chrome’s app info page.
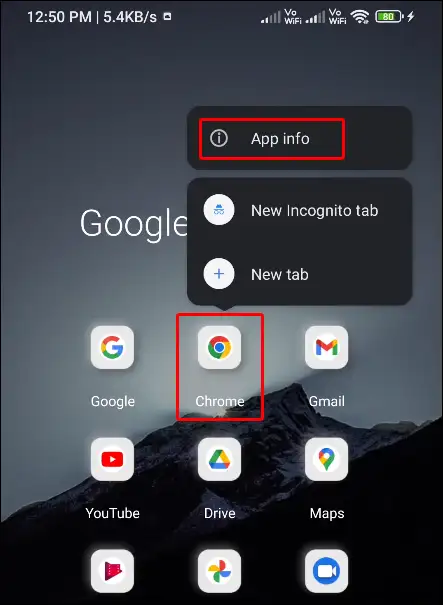
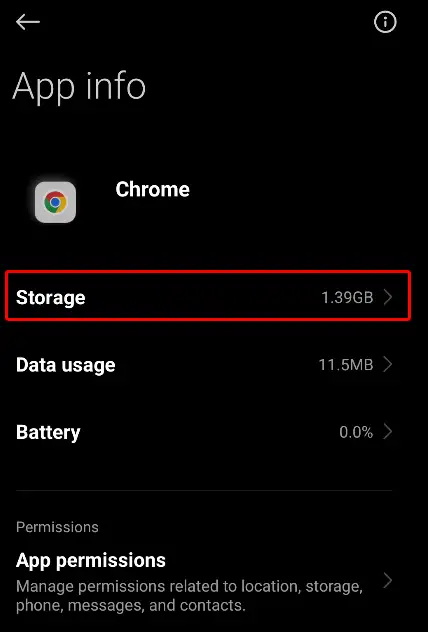
Step 1. Long Press on Google Chrome App Icon from App Drawer and Click on the ⓘ App Info.
Step 2. Tap on Storage Option.
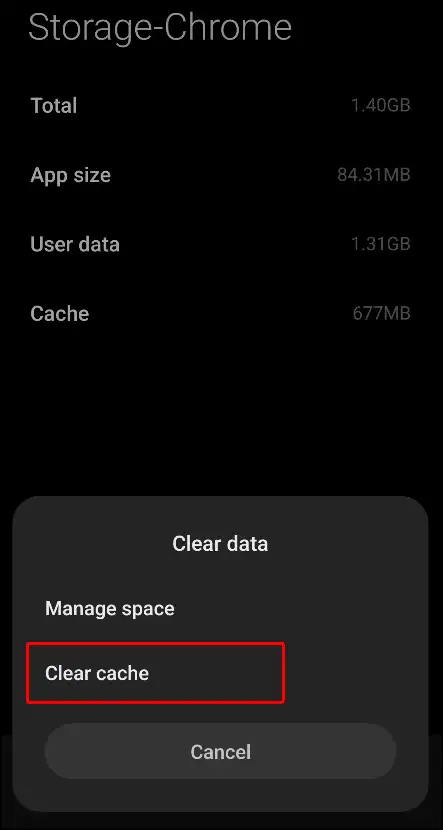
Step 3. Click on Clear Data > Clear Cache.
Friends, one of the biggest reasons for not having a proper internet connection with the browser is the DNS cache present in Android. That is, if you are opening a website in the browser but your internet is working properly, then you can fix the internet problem by clearing the DNS cache.
Also read: How to Turn Off Sync on Chrome Browser
I hope that with the help of this article, you have learned how to clear DNS cache on Android device. If you are facing any kind of problem, please let us know by commenting below. Also, please share this article with your friends.